The Apple iPad Air (5th Generation) has captured users’ attention with its powerful features, bridging the gap between the smaller iPad Mini and the high-performance iPad Pro. But while this device is packed with potential, it’s essential to set it up correctly for the best experience. Properly configuring your iPad Air right out of the box not only enhances performance but ensures a smoother, more efficient experience across apps, settings, and battery usage.

If your laptop is slowing down, you’re not alone—it’s a common issue that frustrates users across the board. Performance decline often stems from limited storage, outdated software, or too many background applications eating up resources. However, this guide won’t just help you with the iPad Air setup but also includes steps to optimize speed and performance, making this guide an invaluable resource for any iPad user.
Overview of the Apple iPad Air (5th Generation)
The Apple iPad Air (5th Generation) is a versatile tablet powered by Apple’s M1 chip, delivering impressive speed and graphics for multitasking, creative work, and entertainment. Its 10.9-inch Liquid Retina display provides vibrant colors and True Tone for comfortable viewing. Supporting the Apple Pencil (2nd generation) and Magic Keyboard, it’s ideal for professionals, artists, and students. Available in Wi-Fi or Wi-Fi + Cellular models, the iPad Air offers flexible connectivity. With iPadOS features like multitasking and Split View, this device bridges the gap between the compact iPad Mini and the high-performance iPad Pro, balancing power with portability.
Steps to Set Up Your iPad Air (5th Generation)

Getting started with the iPad Air (5th Generation) can seem overwhelming, especially with its robust capabilities. However, following these simple steps will ensure you get the most out of your new device, with everything from app organization to customized settings covered for a seamless experience.
Step 1: Unboxing and Initial Configuration
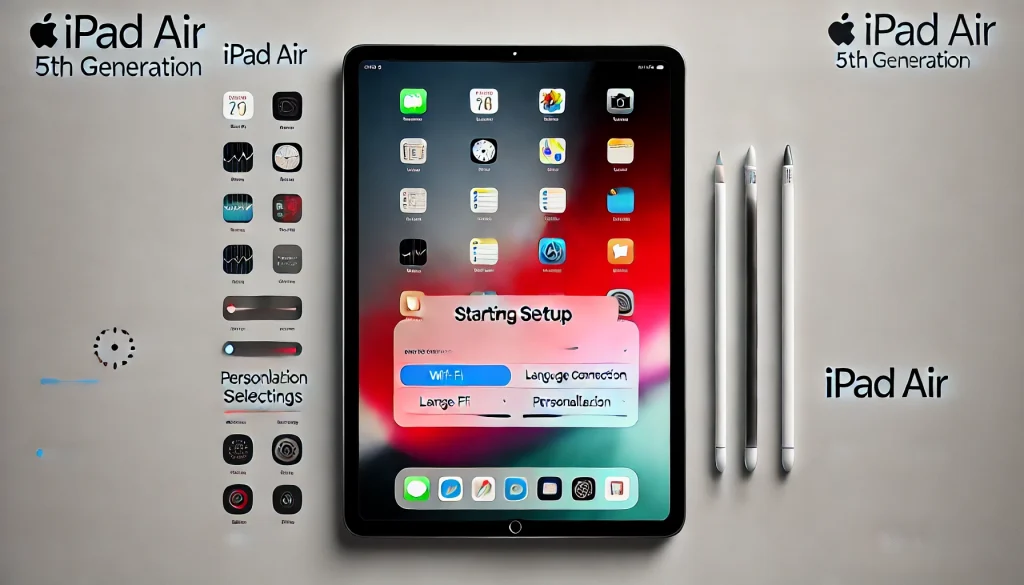
Unbox your iPad Air with care, as this sleek device houses essential accessories like the USB-C charging cable and power adapter. Turn on the iPad by holding down the top button until the Apple logo appears. Follow the on-screen setup prompts to select your language, country, and region, as these settings will impact keyboard layout and app content availability.
Step 2: Connect to Wi-Fi and Set Up Apple ID
A stable Wi-Fi connection is necessary to proceed with essential updates and iCloud syncing. Go to Settings > Wi-Fi, select your network, and enter the password. Next, you’ll be prompted to log in or create an Apple ID. If you’re transferring data from another device, such as an older iPad, this is the moment to use Quick Start to bring over your information seamlessly.
Step 3: Customize Your Display and Accessibility Settings
To make your iPad experience comfortable, adjust display settings. Go to Settings > Display & Brightness to change brightness, enable Dark Mode, or adjust text size. Additionally, accessibility settings can improve usability; go to Settings > Accessibility to explore options like VoiceOver, Zoom, or Touch Accommodations if you need them.
Step 4: Set Up Face ID and Security Preferences
For added security, the iPad Air (5th Generation) allows you to set up Face ID. Go to Settings > Face ID & Passcode and follow the instructions to register your facial recognition. This feature makes unlocking your device and accessing sensitive apps faster and more secure. You can also create a six-digit passcode as a backup.
Step 5: Sync or Transfer Data from Another Device
If you own another Apple device, you can transfer your data to the iPad Air easily. Select Transfer from iPhone/iPad during the setup process to wirelessly bring over apps, settings, and media. Alternatively, restore a backup from iCloud if you previously saved your data there. Both methods save time and ensure you don’t lose any crucial information.
Step 6: Enable iCloud for Seamless Storage and Backup
To take full advantage of Apple’s cloud storage, enable iCloud for secure storage and backups. Navigate to Settings > [Your Name] > iCloud and select which apps to back up. This option allows you to access your files and settings on any Apple device logged into your account, a significant convenience if you also use devices like an iPad Mini or iPad Pro.
Step 7: Set Up Siri and Customize Shortcuts
Siri, Apple’s voice assistant, is more helpful when customized. Activate Siri by going to Settings > Siri & Search, where you can choose to enable “Hey Siri” for hands-free assistance. For a more personalized experience, set up shortcuts by heading to Settings > Siri & Search > Shortcuts, which can simplify frequent tasks, from setting reminders to sending texts.
Step 8: Configure App Store and Notifications
With so many apps available, finding the best ones for productivity, creativity, or entertainment is crucial. Visit the App Store to download essential apps, including Apple’s productivity suite (Pages, Numbers, and Keynote) if they aren’t pre-installed. Customize notifications by going to Settings > Notifications, allowing you to manage what apps can alert you on the lock screen.
Step 9: Optimize Battery Settings
To maximize battery life, enable Low Power Mode when you’re on the go and need extended usage. Head to Settings > Battery, where you’ll find both the battery health report and the option to activate Low Power Mode. Additionally, limiting background app refresh and screen brightness helps conserve energy throughout the day.
Step 10: Explore Apple’s Free Trials and Subscriptions
Apple often provides free trials for new iPad Air users, such as three months of Apple TV+ or Apple Music. Sign in to these services from the App Store or Settings > [Your Name] > Subscriptions to activate your trials and experience Apple’s premium offerings.

To keep your iPad Air running smoothly over time, consider regular software updates. Go to Settings > General > Software Update to check for the latest iPadOS releases, as these updates often include security enhancements and performance improvements. Additionally, clear cache and unused data periodically by deleting unnecessary files or offloading unused apps through Settings > General > iPad Storage.
Using accessories like the Apple Pencil or Magic Keyboard can also enhance the iPad Air experience, especially for productivity and creative tasks. The iPad Air 5 is compatible with the second-generation Apple Pencil, which offers precise control for note-taking, drawing, and other creative work.

