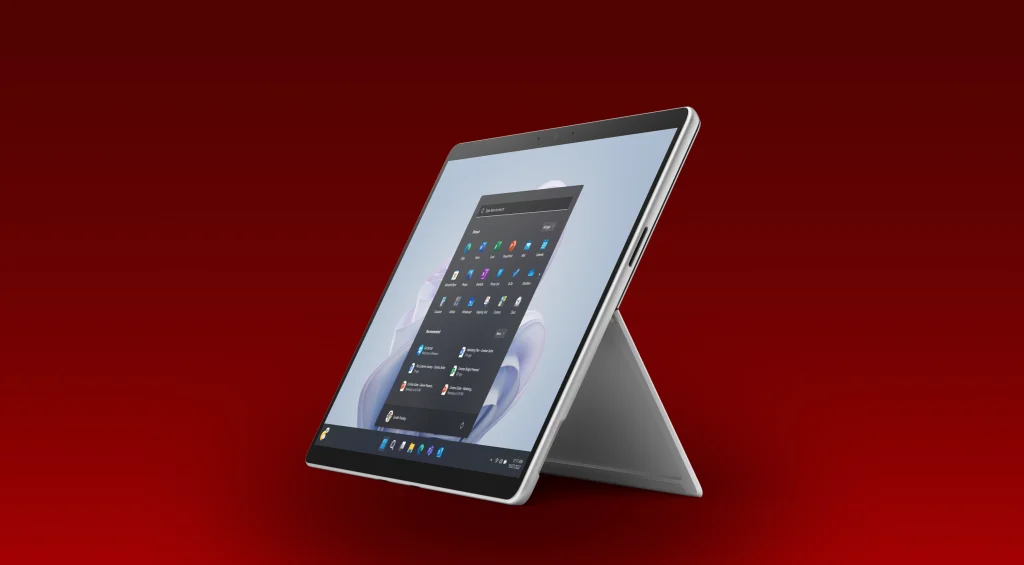
The Microsoft Surface Pro 9 is designed to seamlessly shift between work, play, and everything in between, but if it’s not set up correctly, it can feel sluggish. A slow experience is often caused by factors such as software bloat, inadequate performance optimization, or unused applications running in the background. And nothing is more frustrating than waiting for tasks to load when you’re on a tight deadline or trying to enjoy a video or game.

This guide will show you how to set up the Microsoft Surface Pro 9 to maximize speed and efficiency from the very first time you power it on. We’ll walk you through the setup process and introduce tips to optimize this Surface model, so it’s ready to perform for both productivity and entertainment. Let’s dive in!
Setup Guide for Best Use: Unleashing the Full Potential of Your Surface Pro 9

To get the most out of your Microsoft Surface Pro 9, follow this setup guide to ensure you’re maximizing its unique blend of power, portability, and versatility. The setup process is simple but packed with choices that can shape how effectively your Surface Pro serves you, whether you’re using it as a tablet, laptop, or creative powerhouse.
Steps to Set Up the Microsoft Surface Pro 9
Step 1: Initial Power-On and Language Selection
Press and hold the power button to boot up your Surface Pro 9 for the first time. You’ll be greeted with a welcome screen where you can select your language and region. Choose the options that best match your preferences for an optimal experience. These settings influence everything from your system language to the format for dates and numbers.
Step 2: Connect to Wi-Fi
Next, connect your Surface Pro 9 to a Wi-Fi network. Make sure to select a secure network, as you’ll need a stable connection for updates and further setup processes. If you’re planning to use it both at work and home, it’s wise to save these networks to simplify connectivity later on.
Step 3: Microsoft Account Login
Sign in with your Microsoft account, or create one if you haven’t yet. This account is essential, as it syncs your device with your existing Microsoft services like OneDrive, Office apps, and the Microsoft Store. Your account also provides security features, such as device recovery options and the ability to access cloud-based files seamlessly.
Step 4: Set Up a PIN for Quick and Secure Login
For added security, set up a PIN, which makes it easy to unlock your Surface without typing a long password each time. Additionally, Surface Pro 9 offers facial recognition via Windows Hello, which provides a quick and secure login option. To enable Windows Hello, go to Settings > Accounts > Sign-in options, and follow the prompts.
Step 5: Install Essential Windows Updates
Surface devices run Windows 11, which receives frequent updates to improve performance and security. Navigate to Settings > Windows Update and check for updates. Completing this step ensures that you’re running the latest software version, equipped with recent security patches and system improvements tailored for your Surface Pro.
Step 6: Personalize Your Display and Power Settings
Surface Pro 9’s vibrant 13-inch display is perfect for both work and media consumption. Adjust the brightness and resolution settings for comfortable viewing. Go to Settings > System > Display to customize the screen. For battery life optimization, adjust your power settings under System > Power & Battery, selecting modes that balance performance and battery life according to your usage.
Step 7: Download Key Apps and Configure Your Work Environment
Install Microsoft Office, if not already preloaded, and any other essential productivity apps through the Microsoft Store. Whether it’s for spreadsheets, documents, or design work, Microsoft 365 apps are fully optimized for Surface devices, making them easy to use with touch or stylus input. Add any other apps you commonly use for work, creativity, or communication to set up a complete, personalized workspace.
Step 8: Customize Your Surface Pen and Touch Controls
If you have a Surface Pen or a compatible stylus, pair it with your Surface Pro 9 for a seamless writing and drawing experience. You can adjust pen sensitivity and other settings under Settings > Devices > Pen & Windows Ink. Also, make sure to enable gestures for touch control to switch easily between applications or zoom in on details with a pinch. The Surface Pro 9’s touchscreen is designed for multitouch gestures, making navigation simple and intuitive.
Recommendations for Optimal Performance and Enjoyment

Setting up your Surface Pro 9 goes beyond just software. To enjoy a truly optimized experience, consider these additional recommendations:
- Use a Screen Protector and Cover: Protect your Surface from scratches and accidental drops. A sturdy cover not only keeps it safe but can also double as a kickstand for more comfortable viewing.
- Keep Storage Space Available: Avoid installing too many unnecessary apps to maintain optimal speed. Use OneDrive for cloud storage to free up space on your device.
- Adjust Battery Saver Mode for Long Trips: When working remotely or on the go, enable Battery Saver under Settings > Power & Battery. This mode limits background processes and keeps essential functions running for extended battery life.
- Use a Reliable Antivirus Program: While Windows Defender offers strong protection, adding an extra layer of security with a reputable antivirus can provide peace of mind, especially if you frequently connect to public Wi-Fi networks.
Why the Microsoft Surface Pro 9 is Perfect for Both Work and Play
The Surface Pro 9’s adaptability is what makes it stand out from other tablets and laptops. With its powerful Intel i5 processor, vibrant display, and 120Hz refresh rate, this device effortlessly supports multitasking for professionals and delivers a seamless experience for gamers and streamers alike. And thanks to its versatility, it’s ready for almost any task you throw at it.
The Surface Pro 9 comes equipped with Windows 11, Microsoft’s latest operating system, which is streamlined for productivity and entertainment. Whether you’re handling large spreadsheets, designing on Photoshop, or watching a movie, this device provides an optimal blend of power and flexibility. From the high-resolution display to advanced connectivity options, Microsoft has crafted a device that adjusts perfectly between personal and professional use.

Brijesh Gohil is the founder of Tech Brij, A popular Tech Blog which is focused on Tech tips & Buying Guides. You can follow him on Facebook, Twitter, Google + & LinkedIn.

