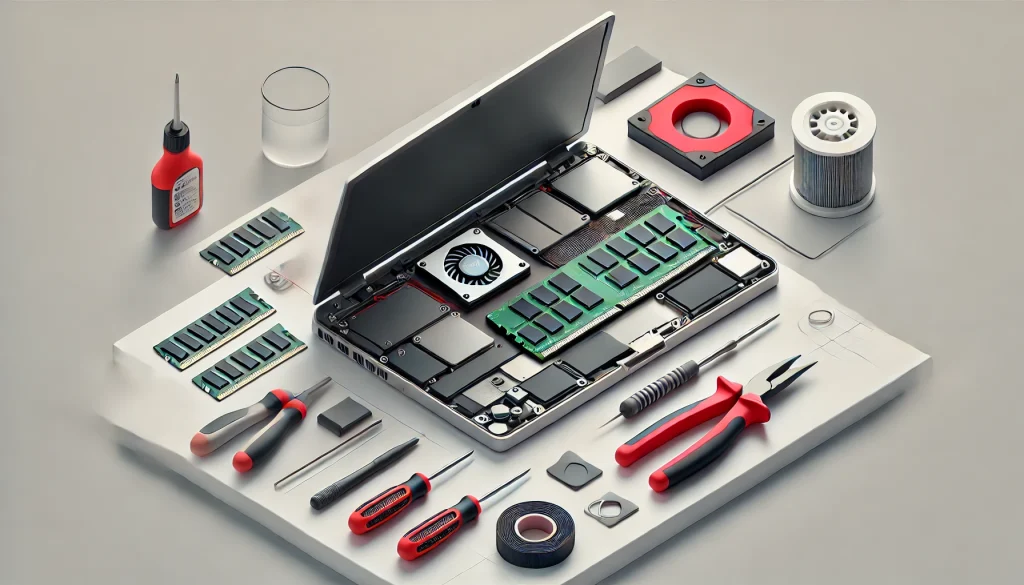
When your laptop starts to slow down or struggle with multitasking, to upgrade RAM on the laptop might be the perfect solution. More RAM allows your device to handle additional tasks simultaneously, making it faster and more efficient. Whether you’re running heavy software, editing videos, or simply browsing with multiple tabs open, extra memory can make all the difference.
Despite how intimidating it sounds, the process of upgrading RAM is straightforward. You don’t need advanced technical skills—just the right tools and guidance. This guide will help you through each step, ensuring a smooth and stress-free upgrade. By the end, you’ll not only improve your laptop’s speed but also gain the confidence to take on similar DIY projects.
What You’ll Need
| Material | Purpose |
|---|---|
| Compatible RAM module | Provides additional memory to improve laptop performance. |
| Small screwdriver set | Used to remove and replace the screws on the laptop’s back panel. |
| Anti-static wrist strap | Prevents static electricity from damaging sensitive electronic components. |
| Clean workspace | Ensures a safe, organized area to work on the laptop upgrade without losing small screws. |
| Laptop Manual or Specs Sheet | To check compatibility and locate the RAM slots. |
Step-by-Step Instructions
Step 1: Check Compatibility and Specifications
Identify your laptop’s RAM specifications by checking the user manual or using online tools like Crucial’s System Scanner. Confirm the maximum RAM capacity and the number of slots available. Afterwards, verify compatibility with DDR type, speed, and size to ensure the upgrade works.
Step 2: Prepare Your Laptop

Turn off the laptop and disconnect all cables. Next, place the laptop on a flat surface with good lighting. Make sure to use an anti-static strap to prevent static discharge. Then, gather tools like a small screwdriver and the new RAM module.
Step 3: Access the RAM Slot
Use a screwdriver to remove the screws from the back panel of your laptop. After that, carefully detach the panel to expose the RAM slots. Know that most laptops have one or two slots. Make sure to check the user manual for guidance on removing the panel.
Step 4: Remove the Old RAM (If Applicable)
If your laptop has old RAM, push the metal clips on either side of the module to release it. Then, gently pull the RAM stick out at an angle to avoid damaging the slot. Keep the module safe in an anti-static bag if you plan to reuse it.
Step 5: Install the New RAM Module
Align the notches on the new RAM stick with the slot. Next, insert the module at an angle and press it down firmly until the side clips snap into place. Lastly, ensure the module is seated securely in the slot.
Step 6: Reassemble and Power On
Replace the back panel and tighten the screws. Reinsert the battery if needed. Turn on the laptop and check your system settings to confirm the new RAM is recognized. Finally, access these settings by navigating to “System Information” or “About This PC.”
Tips for Success

- Check Compatibility First: Always verify your laptop’s maximum RAM capacity and the type of RAM it supports (e.g., DDR4 or DDR5).
- Handle with Care: Hold the RAM module by the edges to avoid touching the pins or chips.
- Keep Your Workspace Organized: Use a small container for screws and label them if necessary.
Warnings to Avoid Mistakes
- Don’t Force the Module: Forcing the RAM into the slot can damage both the module and the motherboard.
- Avoid Static Electricity: Always ground yourself before touching any components to prevent damage from static discharge.
- Back Up Your Data: While unlikely, any hardware modification carries a small risk of data loss.
Troubleshooting Post-Upgrade Issues
If your laptop doesn’t recognize the new RAM:
- Re-seat the module and ensure it’s firmly clipped into place.
- Check the manufacturer’s manual for BIOS updates required for larger RAM sizes.
- Test the module on another compatible device to ensure it’s not faulty.
Conclusion
To upgrade RAM on the laptop is a practical and cost-effective way to boost its performance. With this upgrade, your device will run faster, handle multitasking better, and keep up with your demands more efficiently. Following the steps outlined in this guide ensures that the process is quick and hassle-free, even for beginners.
By taking matters into your own hands, you’ve saved money and learned a valuable skill. Your laptop is now better equipped to meet your needs, whether it’s for work, study, or entertainment. If you’ve found this guide helpful, don’t hesitate to share it with others who could benefit from a RAM upgrade. Explore other ways to optimize your laptop, and enjoy the smoother, faster performance of your upgraded system.
FAQ
How do I know if my laptop supports more RAM?
Check your laptop’s specifications in the user manual or use online tools like the Crucial System Scanner to find the maximum supported RAM.
Do I need tools to upgrade my laptop’s RAM?
Yes, you’ll need a small screwdriver to open the back panel. An anti-static wrist strap is also recommended to avoid static damage.
What should I do if my laptop doesn’t recognize the new RAM?
Ensure the RAM module is seated correctly. If the issue persists, confirm compatibility with your laptop model or consult the manufacturer.
Resources
- Crucial. How to Upgrade Laptop Memory
- Chebon Tech Hacks. How to Upgrade RAM in a Laptop: Step-by-Step Guide
- Digital Trends. How to Upgrade the RAM on Your Laptop
- MakeUseOf. How to Upgrade a Laptop’s RAM: A Step-by-Step Guide
- Robots.net. Upgrading RAM in a Laptop: Complete Guide

Brijesh Gohil is the founder of Tech Brij, A popular Tech Blog which is focused on Tech tips & Buying Guides. You can follow him on Facebook, Twitter, Google + & LinkedIn.

